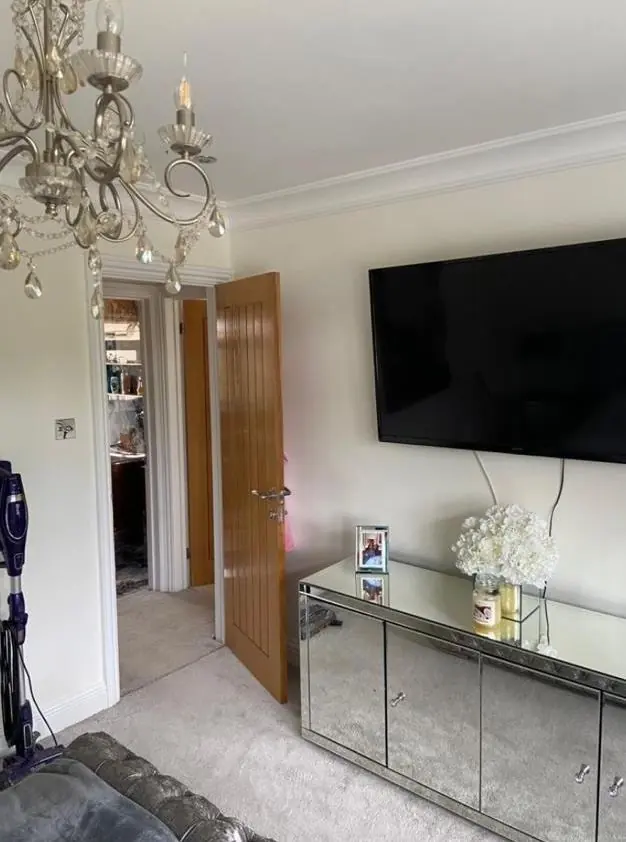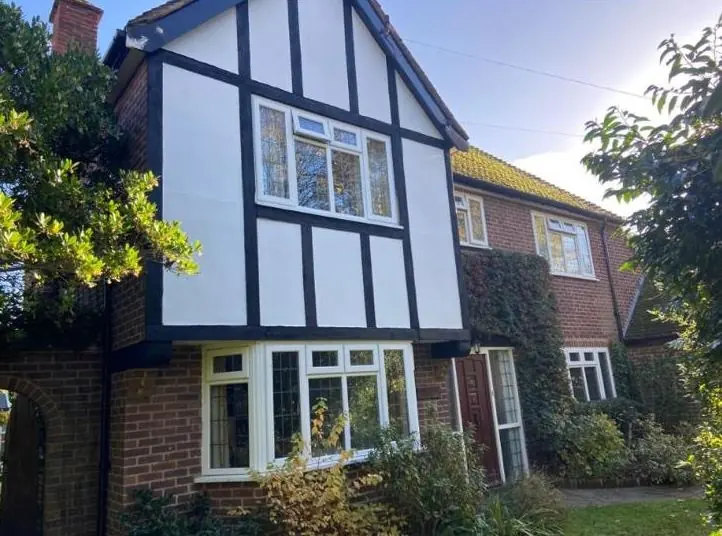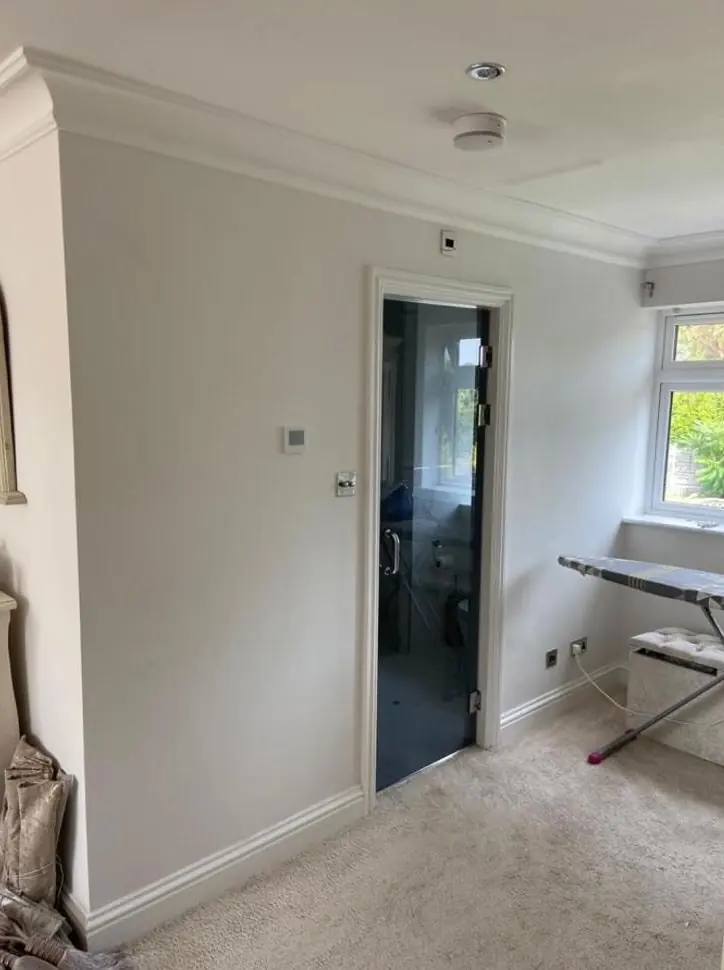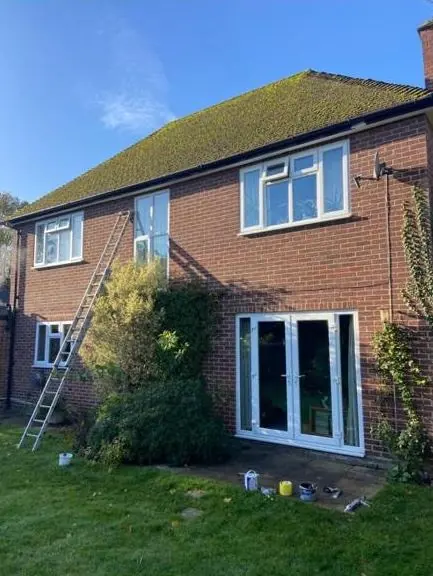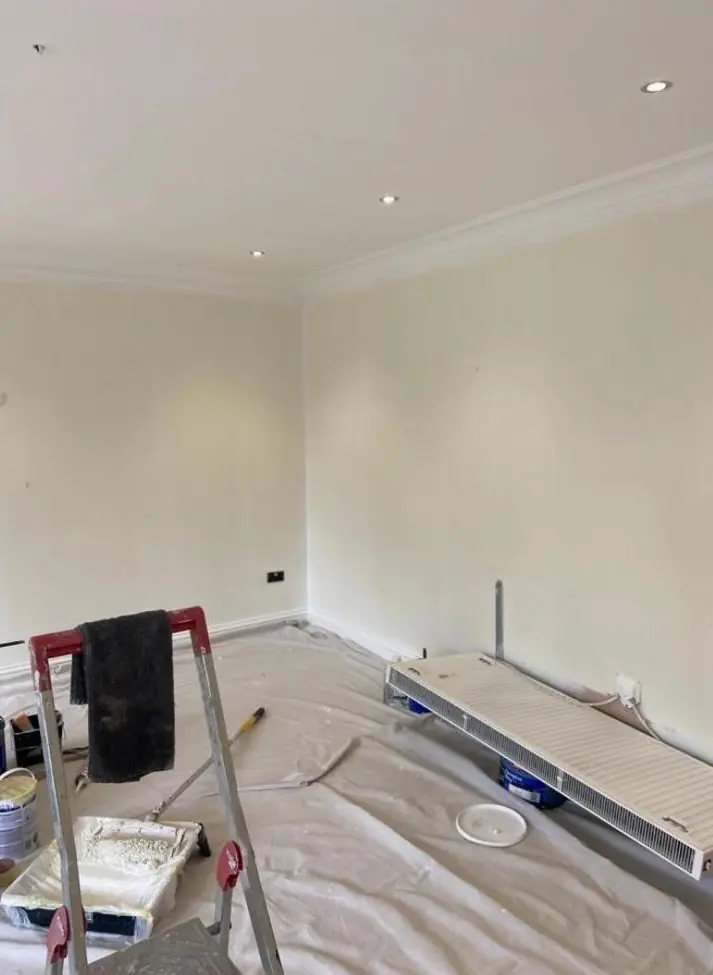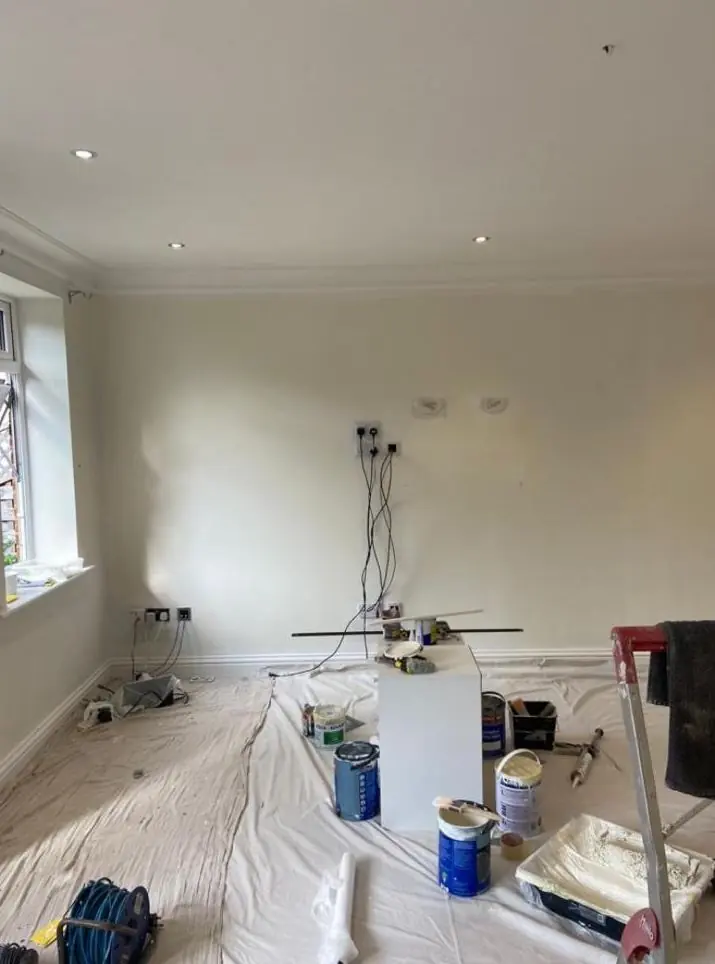
To paint new plaster, let it dry to an even pale pink, apply a mist coat of matt emulsion thinned with about 10 to 20 per cent water (follow the paint maker's datasheet), fill and sand any defects, then apply two full coats. DH Painter & Decorator in Northampton has over 30 years' experience decorating new plaster and offers free quotes.
To paint new plaster, wait until it has dried to an even pale pink, apply a mist coat of watered-down matt emulsion so it soaks in and seals the surface, then fill and sand any defects and finish with two full coats. Most problems with new plaster come from rushing one of those steps, or from using the wrong paint for the first coat.
This guide is written by DH Painter & Decorator in Northampton. Dean has over 30 years’ experience decorating fresh plaster, from single re-skimmed walls to full extensions. It covers drying times, mist coat ratios, preparation and the faults we see most often when the first coat goes wrong.
How long before you can paint new plaster?
New plaster is ready to paint when it has turned an even, light pink all over with no darker patches. A thin skim coat over plasterboard often reaches that point in about 3 to 7 days in a warm, ventilated room. Thicker backing coats take much longer. A common rule of thumb is around a week per millimetre of plaster in good conditions.
Those are rough guides, not deadlines. Plaster dries by giving its water off into the air, so temperature, airflow, humidity and the time of year all change the timing. A new extension in winter, with a wet screed floor still drying out, can take weeks longer than a re-skimmed bedroom in summer.
| Plaster type | Typical thickness | Rough drying time in good conditions |
|---|---|---|
| Skim over plasterboard | 2 to 3mm | About 3 to 7 days |
| Skim over old plaster | 2 to 3mm | About 5 to 10 days, longer if the old wall was damp |
| Backing coat plus skim (block or brick) | 10 to 13mm | Often 2 weeks or more |
| Thick or patched areas, deep reveals | Varies | Check these last; they are usually the slowest |
| New extension in cold or damp weather | Varies | Allow considerably longer than the figures above |
These are rough guides based on common trade practice. The plaster itself is the only reliable test.
How to tell when plaster is dry
Dry plaster is a uniform pale pink or light beige, with no dark or blotchy areas anywhere on the wall. Wet plaster is a darker pink or brownish colour. As it dries, it lightens from the edges in, so the last patches to go are usually in corners, behind radiators, around window reveals and anywhere the plaster was laid on thicker.
Look at the whole room in daylight, not just the easy walls. Put your hand flat on any darker area: if it feels cold compared with the rest of the wall, there is still moisture in it. A damp meter gives a reading, but on new plaster the colour change is the most practical guide.
Steady warmth and good ventilation speed things up safely. Open windows and keep the heating on low. Don’t point heaters or dehumidifiers hard at the walls to force it, because drying too fast can cause cracking and a powdery surface.
Why you shouldn’t use vinyl or silk paint first
Vinyl matt, vinyl silk and most washable emulsions should not go straight onto bare new plaster because they form a tight film that sits on the surface. Fresh plaster is very porous and may still hold a little moisture. A vinyl film can trap that moisture and fail to bond, which leads to peeling, blistering or the paint lifting off in sheets.
Once the plaster has been sealed with a proper mist coat and has fully dried, you can use whatever finish suits the room, including durable or wipeable emulsions. The rule is about the first coat, not the final one.
What is a mist coat?
A mist coat is the first coat of paint on new plaster: a matt emulsion thinned with water so it soaks into the surface instead of sitting on top. It binds to the plaster, evens out the porosity and gives the finish coats a sound base to grip. Without it, the next coats can dry patchily and peel.
The usual choice is a contract or trade matt emulsion. These are breathable and contain no vinyl, so any last moisture in the wall can still escape through them. They also dilute well. White or a pale shade is easiest, as it shows up defects and is simple to cover.
The alternative is a dedicated new-plaster or mist-coat paint. These are designed to go on neat, with no mixing, and they suit people who would rather not measure out water. They cost more per litre but take the guesswork out.
Mist coat ratio: how much water to add
For most modern contract and trade matt emulsions, the mist coat ratio is roughly 10 to 20 per cent clean water, and many manufacturers specify about 10 per cent. Always check the datasheet for the paint you are using, as the maker’s figure is the one that counts. In practice that means about 1 part water to 9 parts paint at the lower end.
You may see older advice calling for a 50:50 or 70:30 mix. That made sense with some older paints, but many modern trade matts are already quite fluid, and over-thinning them can leave a weak, powdery coat with little binder in it. Stick to the datasheet.
- Mix thoroughly in a separate kettle or bucket so the water is fully blended.
- Apply with a roller and brush in the normal way, cutting in first.
- Expect it to soak in and look patchy. That is normal.
- Expect splashes. A thin mist coat runs and spatters more than neat paint, so sheet floors well.
- Leave it to dry fully before doing anything else, usually overnight.
Should you seal new plaster with PVA?
No. Sealing new plaster with PVA before painting is not recommended. PVA leaves a smooth, plastic-like film that emulsion struggles to grip, and paint over it can peel or crack. Paint manufacturers generally advise against it. A mist coat does the sealing job properly and keeps the wall breathable.
PVA has its uses in plastering and some wallpapering, but it is the wrong product for preparing new plaster for paint.
Preparing between the mist coat and finish coats
The mist coat shows up every flaw that bare plaster hides, so the time between mist coat and finish coats is when you fill, sand and caulk. Shine a torch or work light along the wall at a low angle and you will see the marks clearly.
- Nibs and trowel marks: knock back small lumps and ridges with fine abrasive paper or a sanding block. Keep it light and wear a dust mask.
- Holes and dents: fill with a fine surface filler, let it dry, sand flush, then spot-prime with a little thinned paint.
- Hairline cracks: fill in the wall, or use decorator’s caulk where the crack is at a junction that may move.
- Junctions: run caulk along gaps where walls meet ceilings, skirtings and architraves for clean, sharp lines.
- Dust: wipe or brush down before painting so the finish coats go onto a clean surface.
Applying the finish coats
After the mist coat and preparation, apply two full coats of your chosen emulsion, undiluted unless the manufacturer says otherwise. One coat on new plaster rarely gives a solid, even colour, especially with stronger shades. Let the first coat dry fully before the second, following the drying time on the tin.
Cut in first, then roll the wall in sections while the edges are still wet so you don’t get lines. Keep the room ventilated and reasonably warm while it dries. In a cold or damp room, paint dries slowly and is more prone to poor finish and mould.
Common problems with painting new plaster
Most problems with painted new plaster trace back to painting too soon, skipping the mist coat or using a first coat that was too strong. These are the faults we see most often:
- Flaking and peeling: usually caused by a first coat that was too thick or too strong to soak in, a vinyl paint on bare plaster, or PVA underneath. The paint forms a skin that never bonds. The fix is to scrape back the loose paint, sand the edges and start again with a proper mist coat.
- Patchy colour or sheen: often from painting before the plaster was fully dry, or uneven absorption without a mist coat.
- Efflorescence: white, fluffy or crystalline deposits that appear as salts come out of the wall while it dries. Let the wall finish drying, brush the salts off dry (don’t wash them), and only paint once they stop returning.
- Cracks: fine shrinkage cracks are common in the first months, especially at plasterboard joints and where old walls meet new. They are usually cosmetic and are filled or caulked at the next redecoration. Wide or growing cracks should be checked by your builder or plasterer.
When to call a decorator
Painting a single re-skimmed wall is a reasonable DIY job if you follow the steps above. It makes more sense to call a decorator for a whole new extension, high ceilings or a roof lantern upstand, a room where the first coat has already started peeling, or when you need the job sequenced around a kitchen fitter or other trades.
We decorate new plaster across Northampton and nearby towns. Our new plaster and extension painting page explains how we handle mist coats, snagging and new extensions. For a sense of how quotes are worked out, see our painter and decorator cost guide.
For a free quote, call Dean on 07539 779 036 or send us a message.
Last updated by Dean, DH Painter & Decorator.